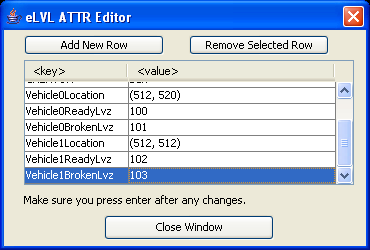
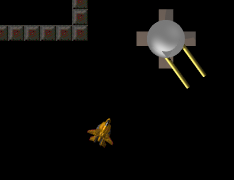

Code: Show/Hide Vehicle0Location (REQUIRED) - The spawn location of the vehicle, in tiles. Example: "(512, 512)"
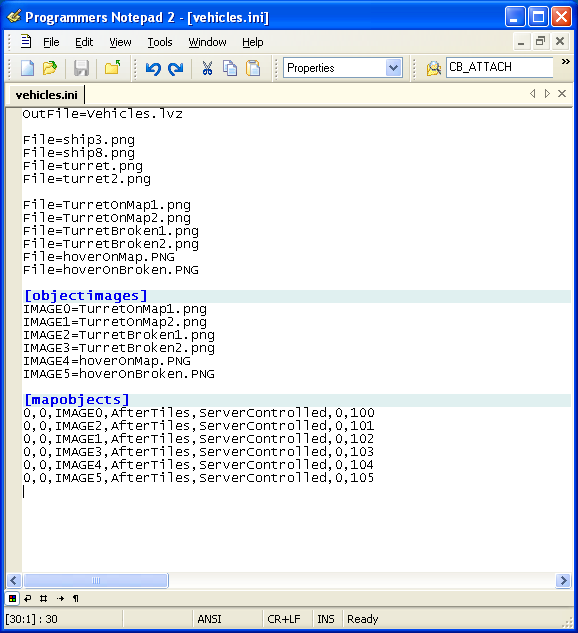
Vehicle0ReadyLvz (REQUIRED) - The lvz map object id of the vehicle ready graphic. Example: "100" Vehicle0BrokenLvz (REQUIRED) - The lvz map object id of the vehicle broken graphic. Example: "101" Vehicle0Ship (REQUIRED) - The ship to change players to when they enter the vehicle. Example: "8" Vehicle0DisallowDriverShips - The ships which should not be allowed to drive this vehicle. Example: "578", Default: "" Vehicle0DisallowAttachShips - The ships which should not be allowed to attach to this vehicle. Example: "1", Default: "" Vehicle0DisallowEnemyAttach - Should enemies be allowed to attach to this vehicle? Example: "0", Default: "1" Vehicle0MaxTurrets - The maximum number of turrets allowed to be attached on this vehicle. Example: "0", Default: "1" Vehicle1Location Vehicle1ReadyLvz ... |
Code: Show/Hide Vehicles:DeathSecs - the number of seconds a vehicle stays dead before respawning (default: 60)
Vehicles:ExitReenterTime - the number of seconds after one exits(?out) a vehicle before they are allowed to enter one again (default: 20) |